
· by Michael Blair, Nashville's Tile and Stone
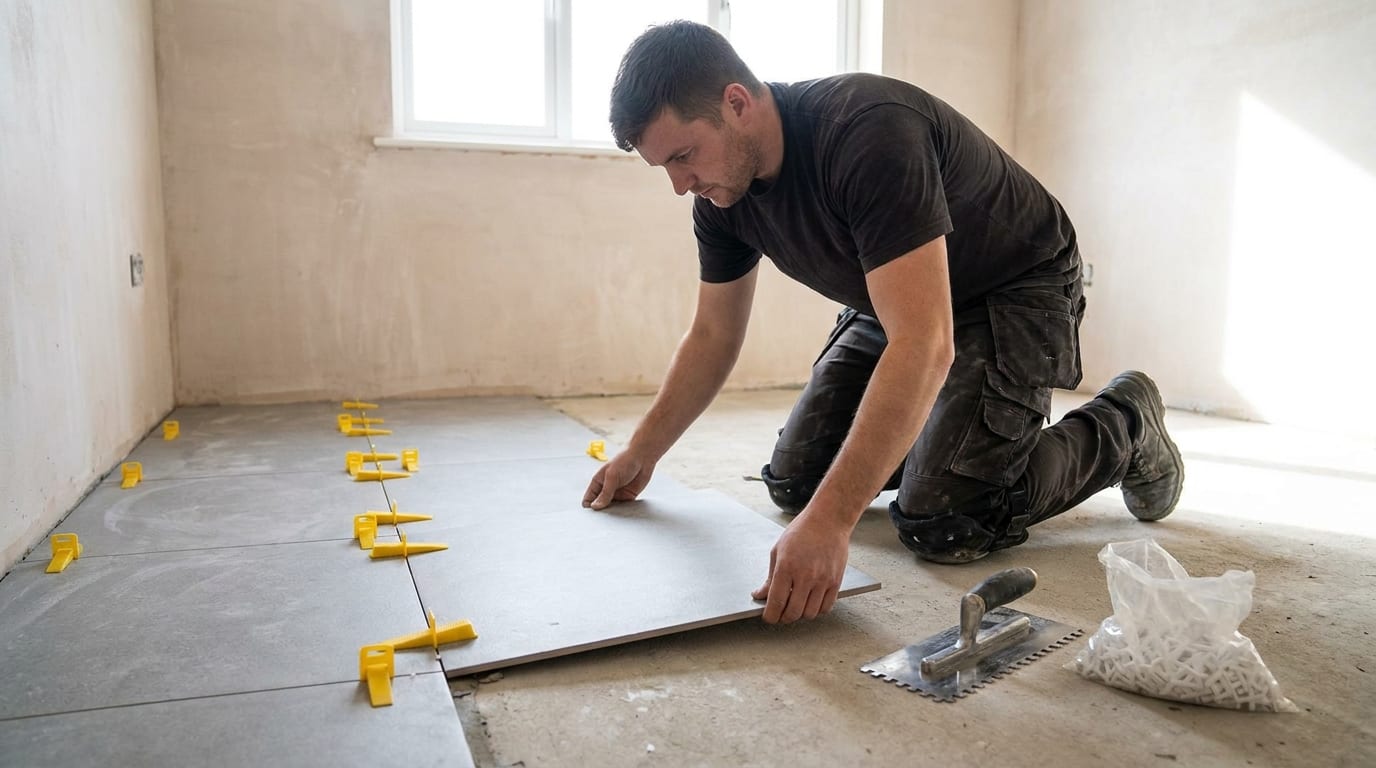
Large-format tile has become the default look and it demands considerably more of the substrate and the installer than small tile ever did.
Lippage
The height difference between adjacent tile edges. On a small tile it is invisible; on a large one it catches light, catches toes and looks obviously wrong.
It comes from an uneven substrate, inconsistent mortar coverage, or tile that is itself slightly warped, which many large tiles are.
Flatness tolerance
Standards tighten as tile size increases, and the tolerance for a large tile is stricter than most existing floors meet. Self-leveling compound is frequently necessary rather than optional.
Checking with a long straightedge before starting is what reveals it, and it is cheaper to know beforehand.
- Check flatness with a long straightedge first
- Expect leveling compound on most existing floors
- Leveling clips help, they do not fix a bad substrate
- Offset patterns exaggerate warp — use a smaller offset
- Back-butter large tiles for full coverage
Pattern matters
A brick-bond pattern at half offset exaggerates the natural bow in a long tile, showing as lippage at the center of each tile. A third offset or less is the usual recommendation for large formats.
Manufacturers increasingly specify this, and it is worth reading rather than assuming a fifty percent offset.
Coverage
Large tiles need full mortar coverage, which usually means back-buttering as well as combing the substrate. Voids under a large tile are where it cracks later.
Lifting a tile early in the job to check coverage is standard practice and worth asking whether it was done.